
Veterian runs in your web browser, so there’s nothing to install. Day-to-day clinic work is done in the Veterian app. Clinic settings are in Clinic Admin, and only clinic administrators can open it.
For an overview of what Veterian can do, see Features on our website.
Log In
Section titled “Log In”- Go to app.veterian.com.
- Enter your email address and password.
- Click Sign in.
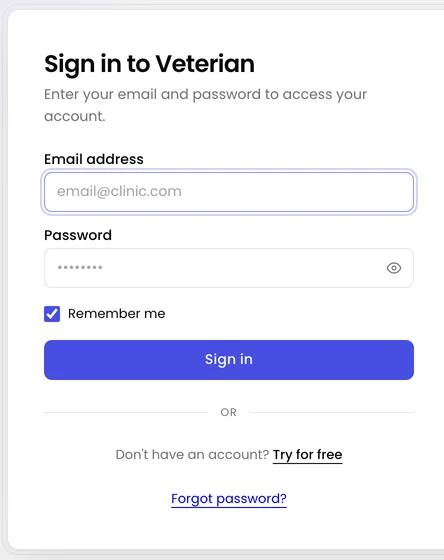
Remember me keeps you signed in, so untick it on a computer that other people use. If you forgot your password, use Forgot password? under the form.
You can’t create an account yourself. Your clinic administrator adds you under Users & Roles in Clinic Admin.
The Top Bar
Section titled “The Top Bar”
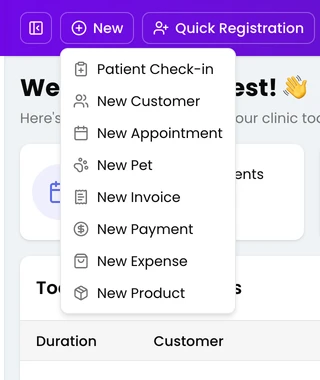
Most new records start from New. It opens a short menu for adding a customer, a pet, an appointment, an invoice and more. When a new customer walks in with their pet, Quick Registration adds both in one form.
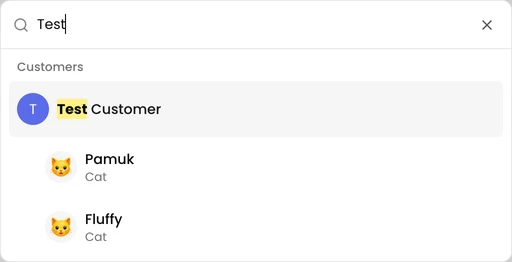
To find a customer or pet, click Search customers or pets or press Ctrl+K (⌘K on a Mac) and type at least three characters. The search looks for customers by name, phone or email, and for pets by name, breed, card number, protocol number or microchip. Sections of the app also appear in the results.
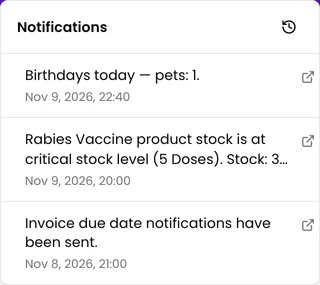
The bell on the right shows your Notifications, with a count of the ones you haven’t seen. Opening the list marks them as read. When a notification is about a record, clicking it takes you there. Older ones are under Notification history.
Next to the bell is a button with your name and profile picture. Click it to open your profile menu. From there you can switch Browser Notifications on, so new notifications reach you even when Veterian isn’t the tab you’re looking at. If the switch is greyed out, notifications are blocked in your browser’s own settings. The same menu has Theme Mode for light or dark mode, and Logout at the bottom.
Switch Branch
Section titled “Switch Branch”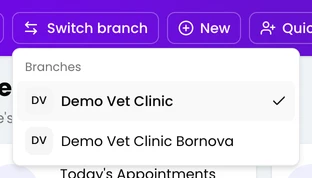
If your clinic has more than one branch, you have a separate account in each branch you work at. Once your accounts are linked, Switch branch appears in the top bar. To link them, contact support.
- Click Switch branch. The menu lists your branches, with a tick next to the one you’re in.
- Choose a branch. Its Dashboard opens, and you don’t have to enter your password again.
The switch applies to every Veterian tab open in your browser. Each branch keeps its own customers, appointments and invoices. Your role can also differ from one branch to another. Check which branch you’re in before you start work.
Clinic Admin has the same menu. If you choose a branch where you aren’t a clinic administrator, it opens in the Veterian app instead.
The Left Menu
Section titled “The Left Menu”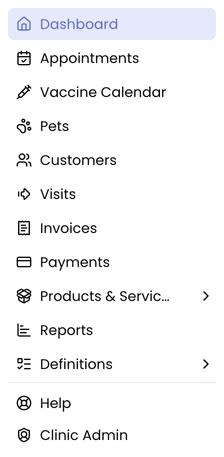
The left menu lists the sections your role can open. At the bottom, Help opens the Veterian help centre. Clinic administrators also see Clinic Admin there. To get back from Clinic Admin to the app, click Back to App.
A Typical Visit
Section titled “A Typical Visit”- Book an appointment for the customer and their pet.
- When they arrive, check the patient in with Patient Check-in. If the patient has an appointment, it’s marked Arrived.
- Record the examination, treatments and vaccinations on the visit.
- Issue the visit’s invoice and take the payment.
- Complete the visit.
Get Help
Section titled “Get Help”If the help centre doesn’t answer your question, Getting Support lists the ways to reach our team.